Gardening with Scott: How to Grow Your Own Potatoes
Article posted in: Lifestyle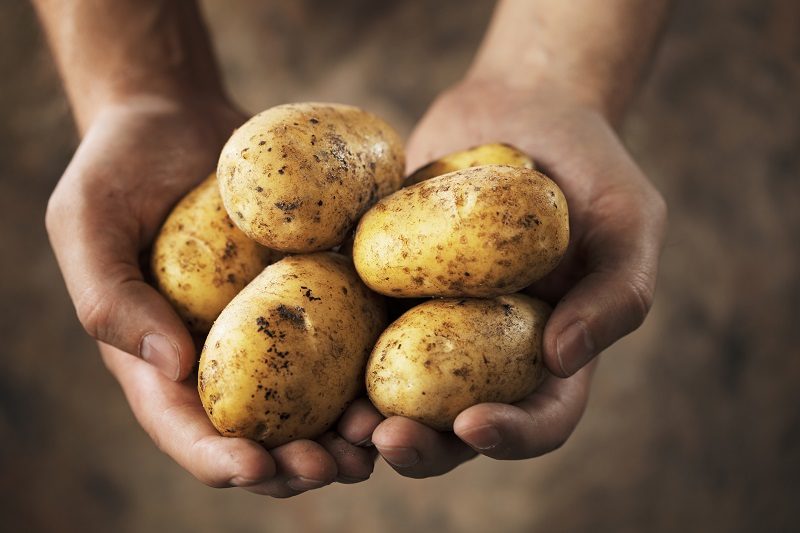
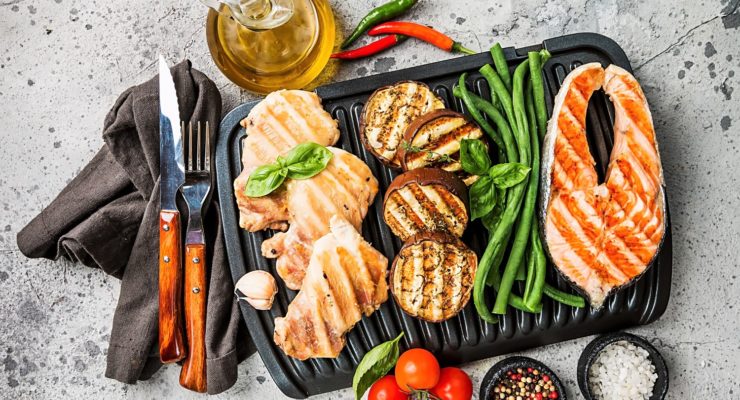
Potatoes might be America’s most popular SmartCarb, as each of us consumes on average more than 20 pounds of fresh spuds per year, according to the United States Department of Agriculture (USDA). Which is great because they’re loaded with nutrients: A large potato has about 280 calories, 7.7 grams of fiber, 1,568 milligrams of potassium (about 100 percent of the Recommended Daily Allowance (RDA)) and almost no fat. And, they’re so versatile you can enjoy them baked, roasted, grilled, mashed and in many healthy dishes. What’s even better? Gardening potatoes is super easy!
Potatoes are available year-round in supermarkets, but growing your own is fun and provides you with the most flavorful and juiciest potatoes you’ve ever eaten. (Yes, freshly harvested potatoes are actually juicy when you cut into them!) If you have nine square feet where the summer sun shines most of the day, you can grow up to 15 pounds of spuds in a fiber bag or old trash can. Gardening potatoes does not require a green thumb either. Raising your own crop of potatoes is easy and requires just a few basic supplies.
Gardening with Scott: Turn Fresh Produce Waste into Taste
Read MoreHere are seven simple steps to gardening potatoes:
1. Find a bag or barrel.
Grow bags are inexpensive and available from many online gardening suppliers and retail nurseries. Get the biggest bags you can find. You can also use a large burlap bag or a plastic trash can with several rows of air holes drilled into it.
2. Get seed potatoes.
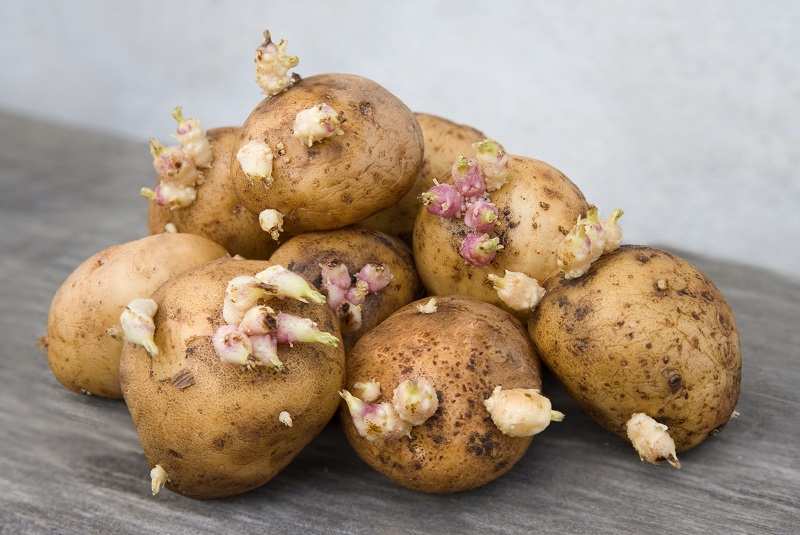
New potatoes grow from the “eyes” of older potatoes. You can buy seed potatoes (chunks with an eye) from online sources. If you have a few forgotten spuds sprouting in your pantry, you can cut them into pieces with at least one eye each. Growing your own lets you choose potatoes that have brown, yellow, red or blue skin and flesh that’s white, yellow or purple.
3. Add soil mix.

Fill the bag, barrel or can with about four inches of potting soil mixed with compost. (Don’t use soil from your garden—it can be too dense for water to drain properly, which can lead to rotting.) Moisten the soil mix but don’t let it get soggy.
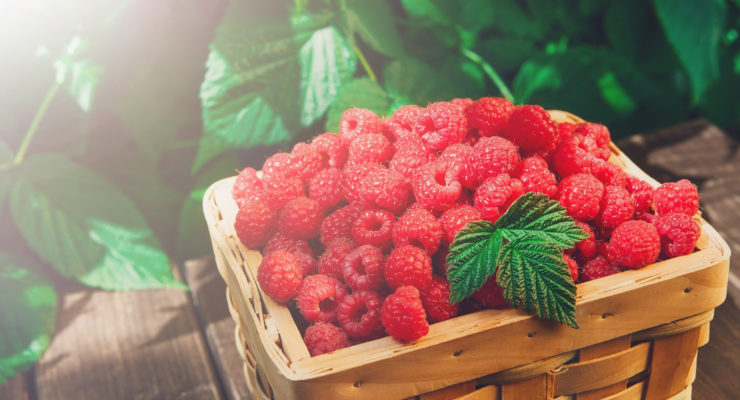
Gardening with Scott: Guide to Growing Raspberries
Read More4. Plant the potatoes.
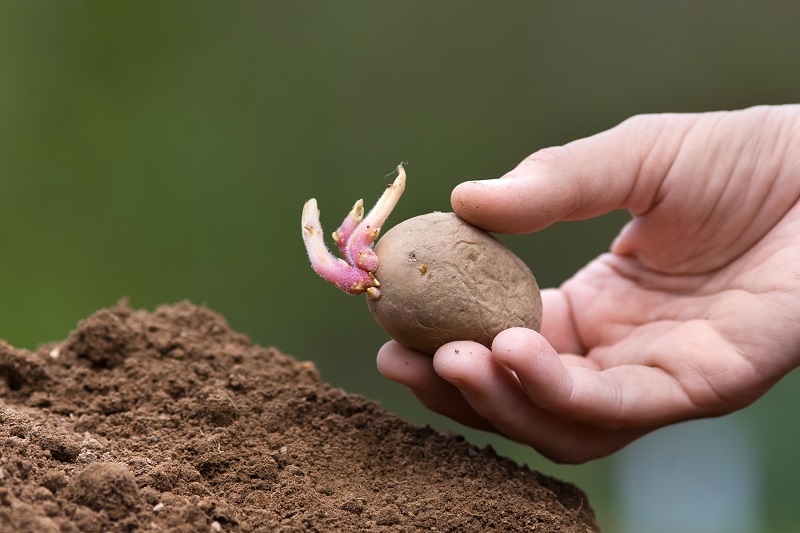
Spread out about eight potato pieces on top of the soil mix. Fill the barrel or bag with at least two more inches of soil mix, making sure all of the spuds are completely covered. Moisten the soil. Set the bag or barrel where it will get full sun most of the day.
5. Water when dry.
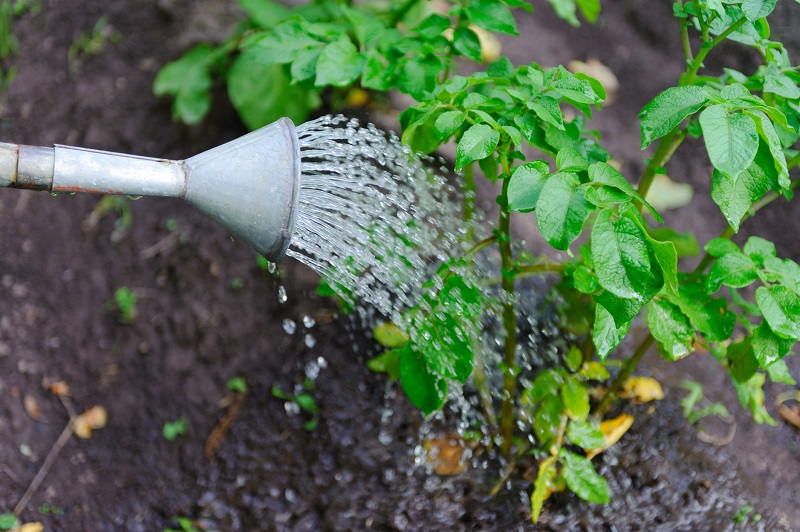
Soak the soil thoroughly once a week when it doesn’t rain.
6. Fill and fill again.
Soon you will see green shoots coming up, putting on leaves and growing taller. As they grow, add more soil mix up to the lowest leaves on the stalks. Be sure the spuds stay covered at all times—exposure to sunlight will turn your potatoes green and ruin their flavor and texture. You can stop adding soil mix when the bag or barrel is full. The stalks may extend two or more feet above the soil line.
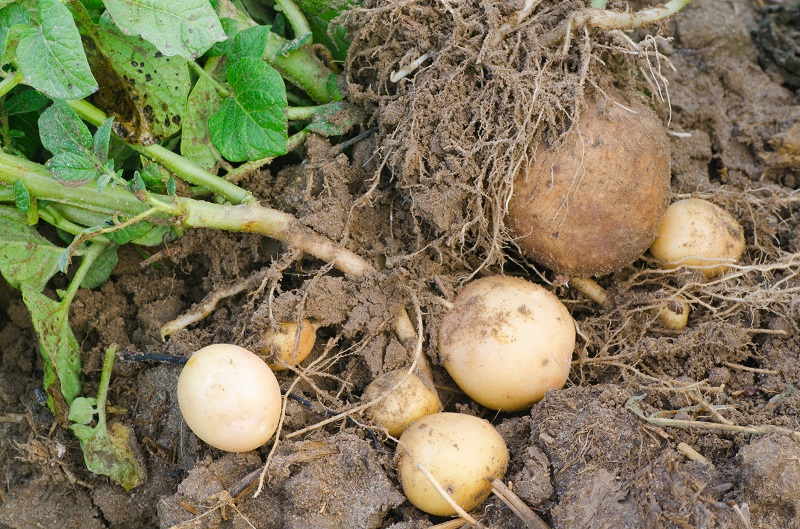
7. Dig for treasure.
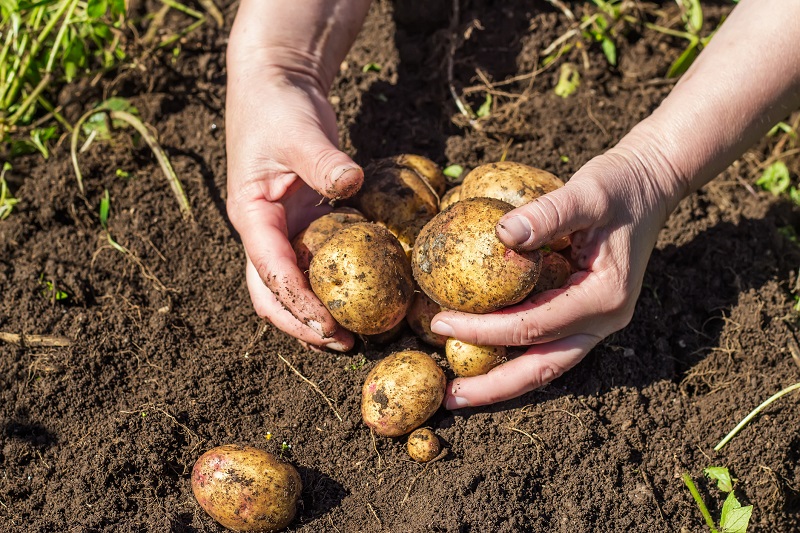
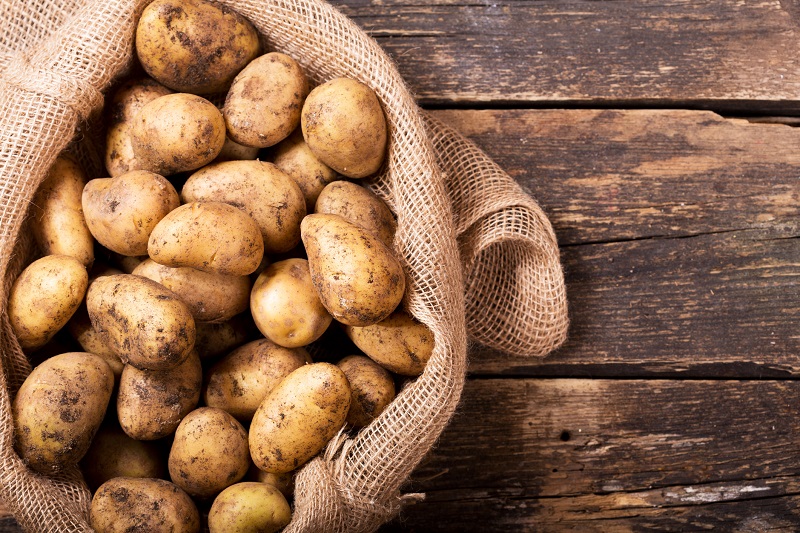
In six to eight weeks, the leaves turn yellow and the stalks begin to brown. When the stems all fall over, it’s time to harvest your potatoes. Gently dump the contents of the barrel and root around with your hands for the tender and tasty ‘taters you’ve grown. You can eat them right away, when they are at peak freshness. If you don’t use them all immediately, store any that are left over (without washing them) in a cool, dry place away from direct sunlight.