Gardening with Scott: Turn Fresh Produce Waste into Taste
Article posted in: Lifestyle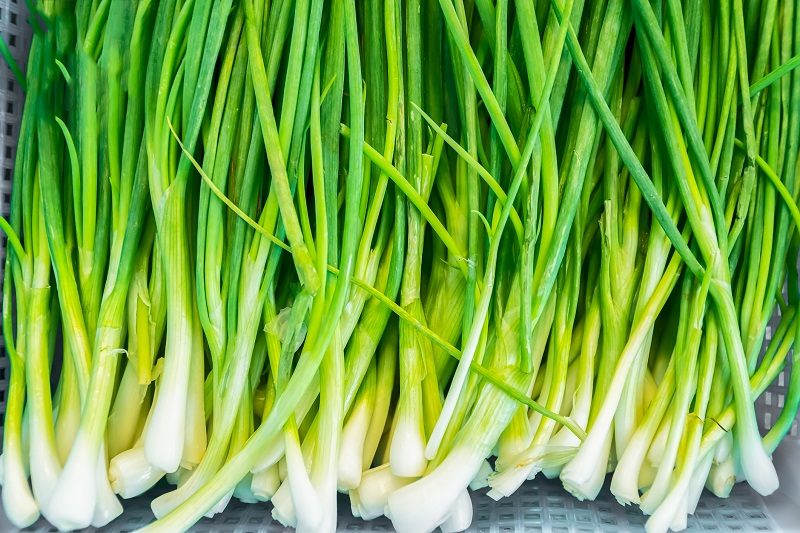
Eating four or more servings of non-starchy vegetables each day is so good for you, but fresh produce can generate a lot of scraps—the parts of celery, lettuce and other items that get cut or peeled off. You can put the scraps in a compost pile, where they will be transformed into nutrient-rich fertilizer you can use in your garden. Even more fun, you can replant many types of fresh produce, and they will grow again into ingredients you can include in your healthy meals.
Here’s how to turn the waste from fresh produce into tasty, fresh food:
1. Celery
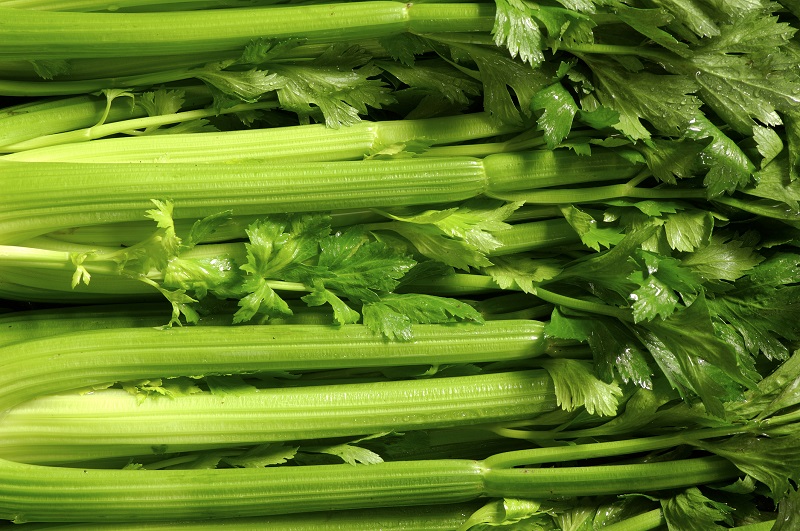

When you buy whole stalks of celery, they come attached at the bottom to a round base that’s dense and not edible. After you’ve cut off all of the celery to eat, you’re left with the two- to three-inch deep base. Place the base with the root side (bottom with brownish core in the center) down in a shallow bowl with an inch or so of room temperature water. Put the bowl near a window that gets a lot of direct sunlight during the day. Replace the water every other day.
In about seven to 10 days, you’ll see leaves beginning to form and a week or so after that, thin stalks start to shoot up. These stalks are not as dense or as rigid as those you originally brought home from the grocery store, but they will have the same flavor and healthy nutrients. You can begin snipping off the stalks and adding them to salads and other dishes whenever you want. For a bigger, more productive plant, you can move it to a sunny place in your garden or into a large container with potting soil. It will grow even more vigorously outdoors.
2. Lettuce
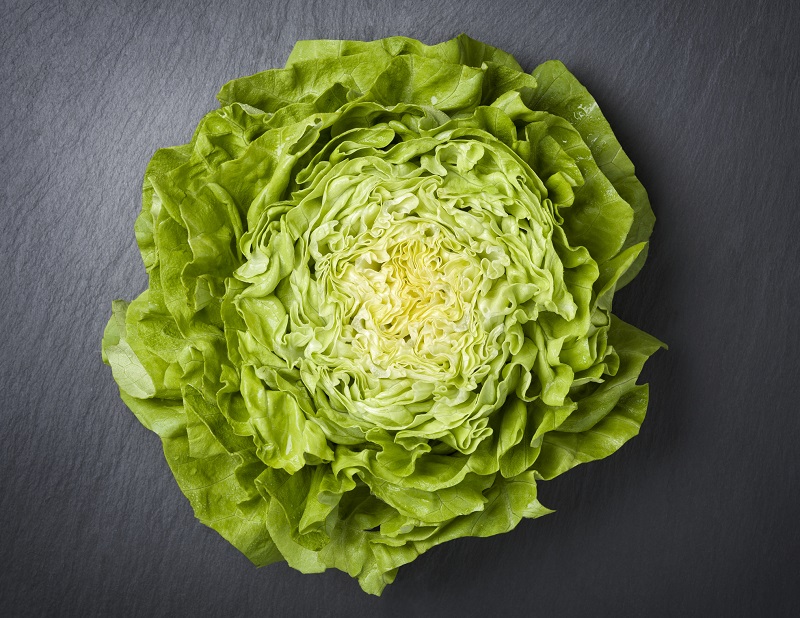

If you enjoy having fresh produce to make salads every day, you can grow a steady supply of greens from the base of a head you bought at the store. Just like with celery, save the core with the brownish stump in the center after you’ve eaten all the leaves. This works best with Romaine lettuce, but you can try any type that still has the core attached when you buy it. Put the core in a shallow bowl with a couple inches of water and set it in a sunny window. Refresh the water every other day.
In a week or so, the first leaves will appear and they’ll swiftly grow after that. They will not form a new head of lettuce, but you can begin snipping and eating the leaves as soon as they’re more than four inches long. The lettuce grows bigger and faster after the leaves show up if you transplant it to your garden or large pot. Wherever you grow it, let at least three leaves remain when you cut some off and new ones will emerge until the days grow short and the weather turns cold.
3. Potatoes
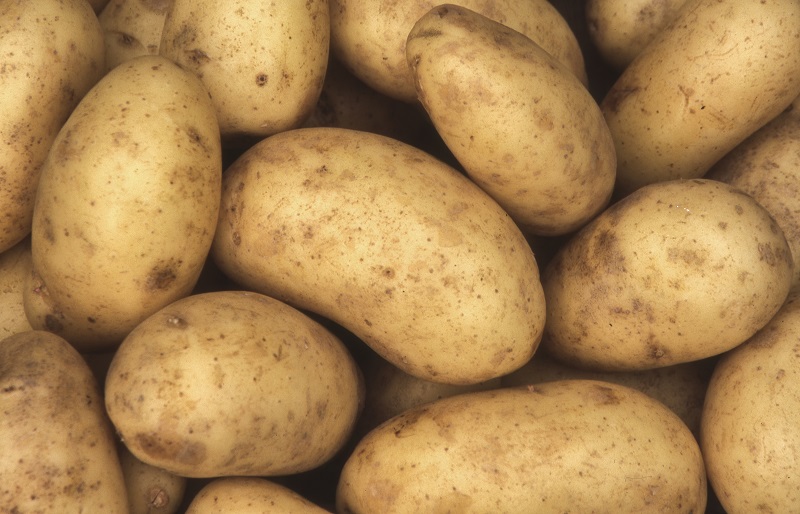

If you have leftover (uncooked) potatoes that sit out of sight for a while, when you next check on them you’re likely to find that they’ve grown sprouts from one or more of their “eyes.” You can plant those sprouts and get a batch of new potatoes from your garden or even a burlap bag.
Carefully cut about two inches of the potato around the sprouts so that you have small chunks, each with one sprout attached. If planting in your garden, dig a trench at least eight inches deep (12 inches is even better). Loosen the soil at the bottom of the trench, then place the potato chunks, with the sprouts facing up, about one-and-a-half feet apart in the trench. Cover the chunks with two to three inches of soil—the sprouts can still be exposed. Keep the soil damp and in a few days leaves will start growing on the sprouts. Add more soil back to the trench as the sprouts grow over the next few weeks. If you have burlap or fabric “grow” bag, you can plant the potato chunks on a few inches of potting soil or compost at the bottom of the bag and add soil as the sprouts grow.
After the trench or bag is full again, the plants flower. A few weeks later, the leaves turn yellow and begin to wither. Your potatoes are ready to harvest. Carefully dig them up from the garden or simply dump the bag. As you run your hands through the soil, you’ll find the buried treasure: Delicious fresh, new potatoes.
4. Green Onions
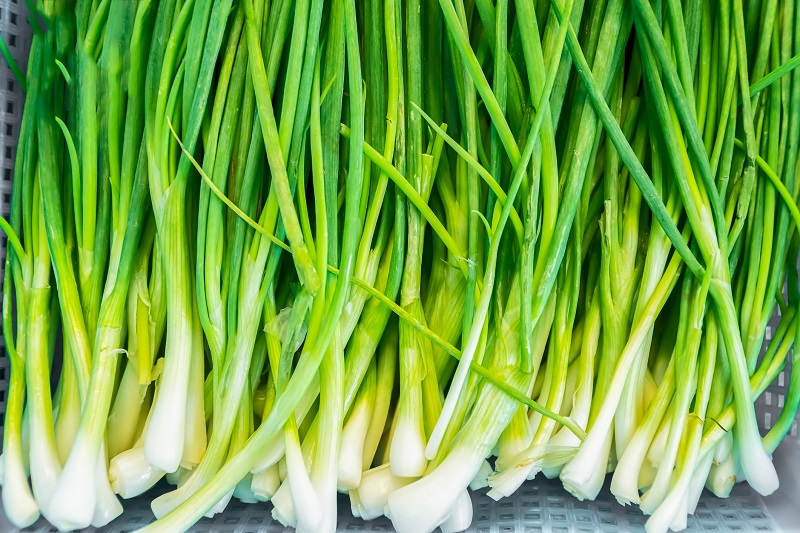

The green tops of scallions add tangy flavor to omelets, stir-fries and lots of other dishes. You can harvest a steady supply of this type of fresh produce for weeks by cutting off the white, bulbous bottoms and replanting them indoors or out.
When cutting the green stalks to eat, leave about a half-inch of the shoot above the bulb. Place the bulb with the root side down in a small pot with potting soil or in your garden. Cover the bulb lightly with soil and, if you’re growing in a container, place it in a sunny window. Keep the soil consistently damp. In about a week, you’ll see new green tips forming. You can start snipping the leaves when they reach more than four inches long. If you leave some of the greens every time you cut, the plant will continue growing and making new leaves for months—even into winter if you have them indoors.
5. Basil and Cilantro


Fresh produce also includes fresh herbs. Herbs such as basil and cilantro add a zip of flavor to lots of dishes, including your Nutrisystem meals. And herbs are a Free Food, so you can eat as much of them as you want while staying on track to your weight loss goals. You can keep a steady supply on hand just by saving a few stems from a bunch you buy at the grocery store.
Select a few stems about four-inches long from a bunch of basil or cilantro (or both). With your fingers or a sharp knife, strip off all but the top 25 percent of the leaves. Put the stems in a jar of water up to just below the leaves and set the jar in a sunny window. Change the water every other day. In a week or so, new roots will form along the stems. Transplant the stems to your garden or to small containers with potting soil (one stem per pot). Keep the soil damp and soon you will see the stems growing. You can snip off leaves and begin eating them, but always leave a few behind so that the plant keeps growing. If you are growing in pots, bring them inside in fall and the plants will grow and bear new leaves all year.

