Gardening with Scott: How to Grow Your Own Peppers
Article posted in: Lifestyle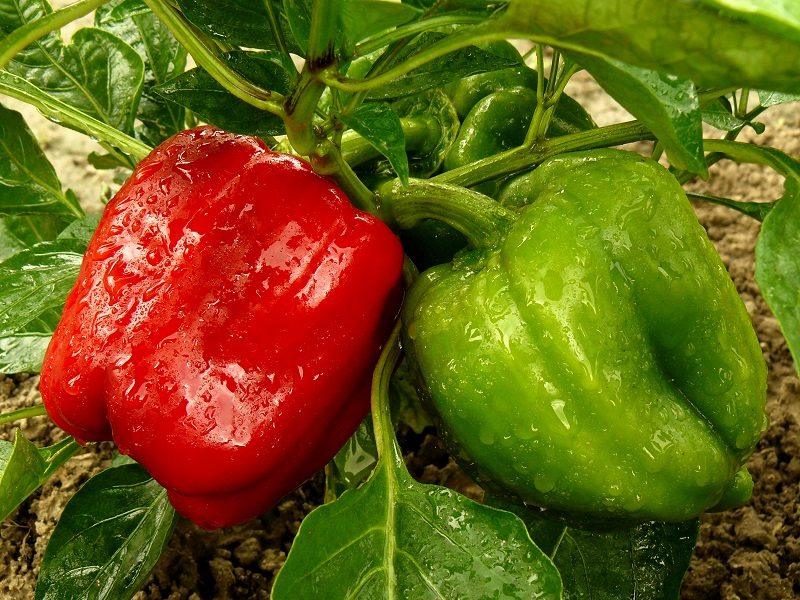
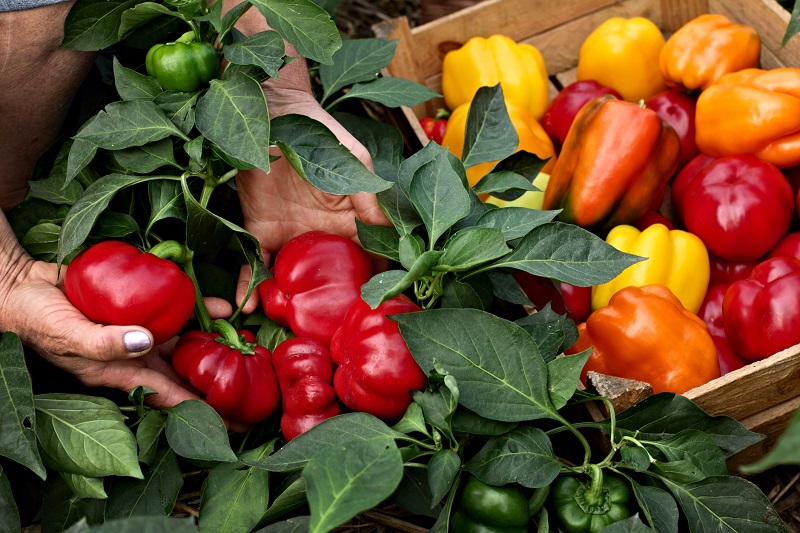
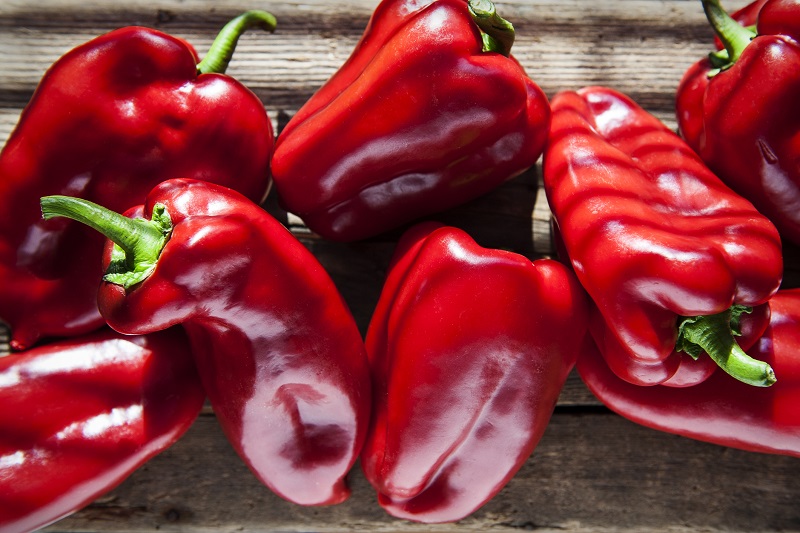
Red, orange, yellow and green: Peppers brighten our meals with vibrant colors and rich flavors. And they’re loaded with many essential nutrients, including substantial amounts of vitamins A and C, according to the United States Department of Agriculture (USDA). Homegrown peppers light up gardens and containers, too, with their vivid hues and unique shapes. They’re easy to grow and there are lots of different kinds to choose from, so you are sure to find one or more that suit your tastes. Whether you’re an experienced green thumb or gardening for the first time, these hints are sure to help you get your best pepper crop ever.
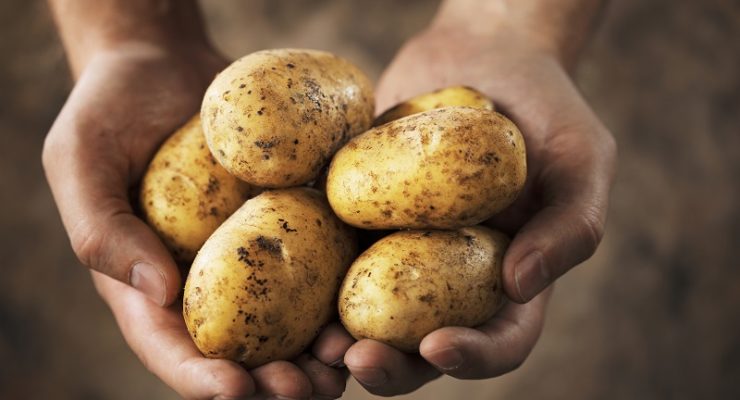
Gardening with Scott: How to Grow Your Own Potatoes
Read MoreCheck out eight simple tips for homegrown peppers:
1. Plant a few.
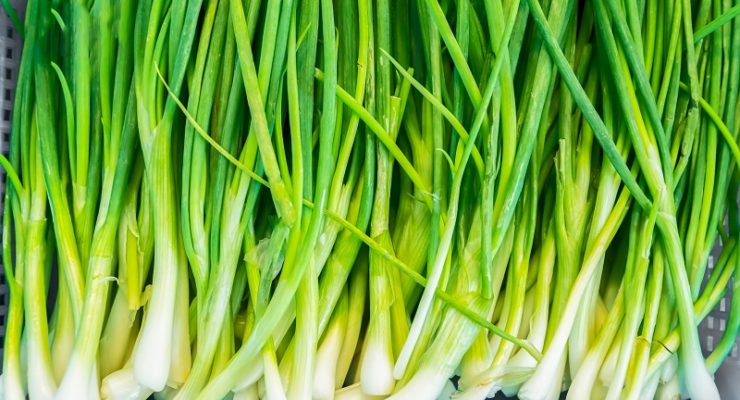
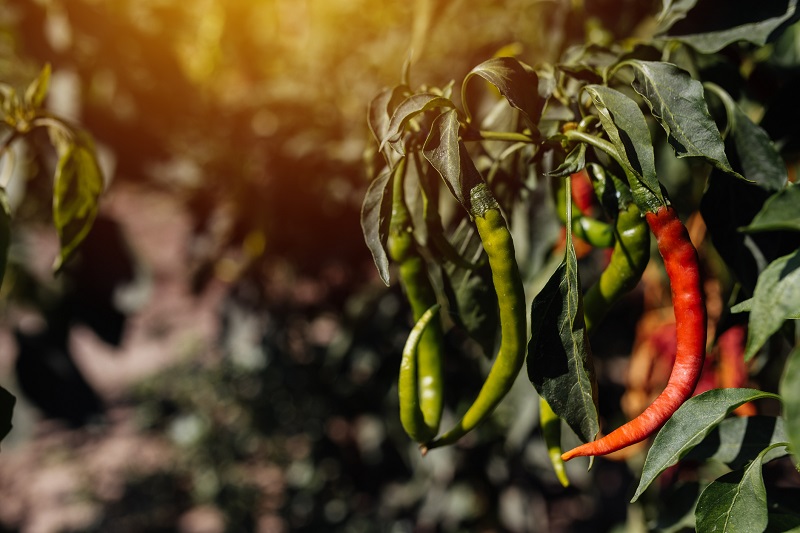
If you like sweet-tasting peppers, you can choose from bell-shaped varieties, pimentos and frying types. Ace is a reliable bell pepper and Lipstick is a productive, trouble-free pimento. Both start out green but eventually ripen to red. Cubanelle bears yellowish, tapered frying peppers. Chile peppers add spice to your meals and grow well wherever summers are hot. Jalapenos are mildly spicy, but if you like your food zestier, plant Anaheim or even hotter habanero peppers. Whichever you prefer, include more than one variety in your garden and you’ll be almost guaranteed a healthy harvest, no matter what the conditions are like during the growing season.
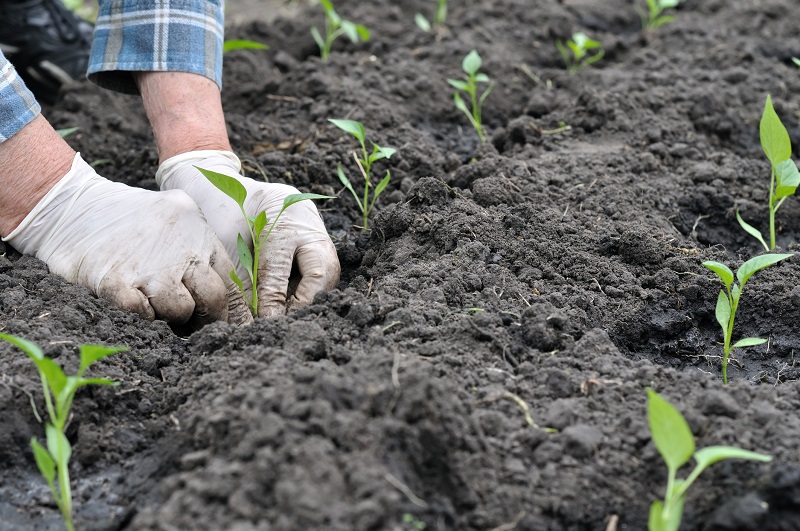
2. Full sun, loose soil.
Peppers are native to the tropics, so they fare best where they get lots of direct sunlight throughout the day. Like most garden crops, pepper plants suffer when they sit in water that doesn’t drain away after a rainstorm. If planting them in a garden, loosen the soil well and add compost to help disperse moisture. For containers, use a mix of compost and potting mix—ordinary garden soil is too dense and holds too much water.
3. Fertilize early.
During their first few weeks after planting, peppers need nutrients to grow tall, sturdy stems and a robust leaf canopy. Use an organic liquid fertilizer, such as those made with seaweed and fish (Alaska is a widely available brand) to ensure the plants have a balanced supply of nutrients. Feed them only once a week and carefully follow the package instructions. Remember, just like with people, too much feeding is not healthy for plants. When the fruits begin to form, stop fertilizing, as you want to the plant to focus its resources on ripening them rather than growing more branches and leaves.
Gardening with Scott: Turn Fresh Produce Waste into Taste
Read More4. Water and mulch.
As tropical plants, peppers are accustomed to growing with a steady supply of moisture. Give your plants at least one gallon per week during the growing season (when it hasn’t rained). Surround each plant with a two-inch-deep layer of dried grass clippings or straw to help block weeds from sprouting, which siphon away moisture from your pepper crop.
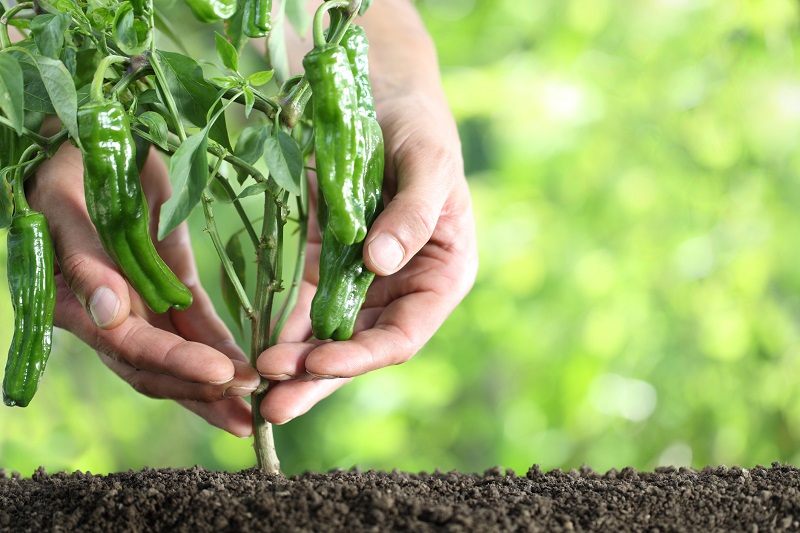
5. Stakes or cages.
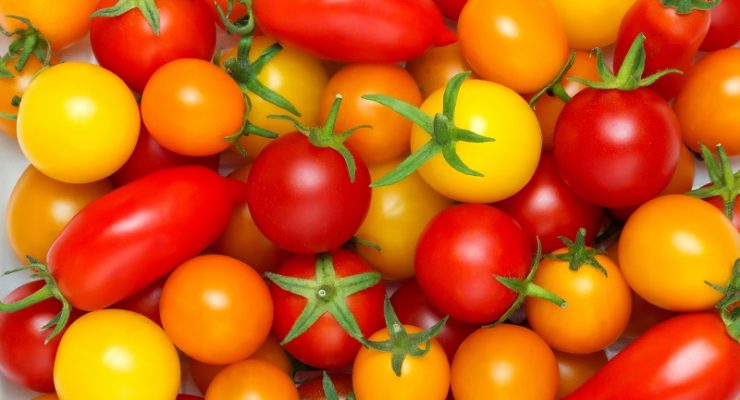
Homegrown peppers don’t sprawl like tomato vines do, but when they are loaded with fruit the branches and stem can bend or even break off altogether. Give the plants some support by tying them to wooden stakes or surround them with the small size of tomato cages.
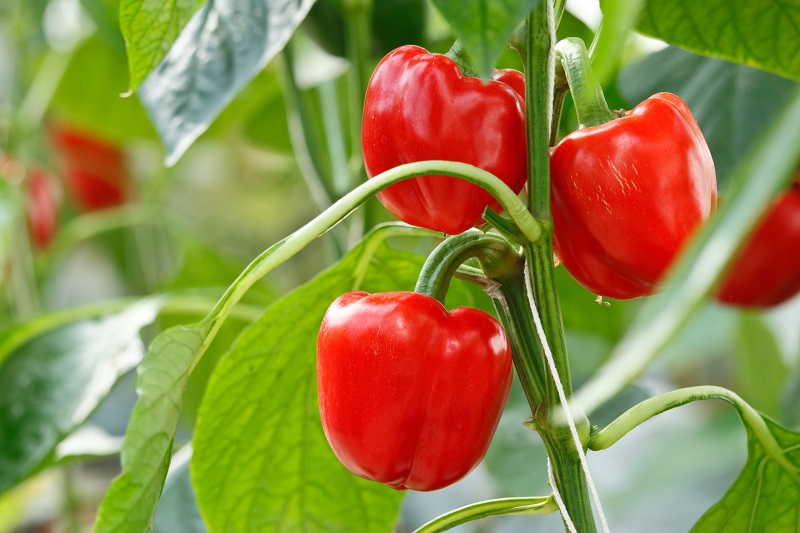
6. Wait to pick.
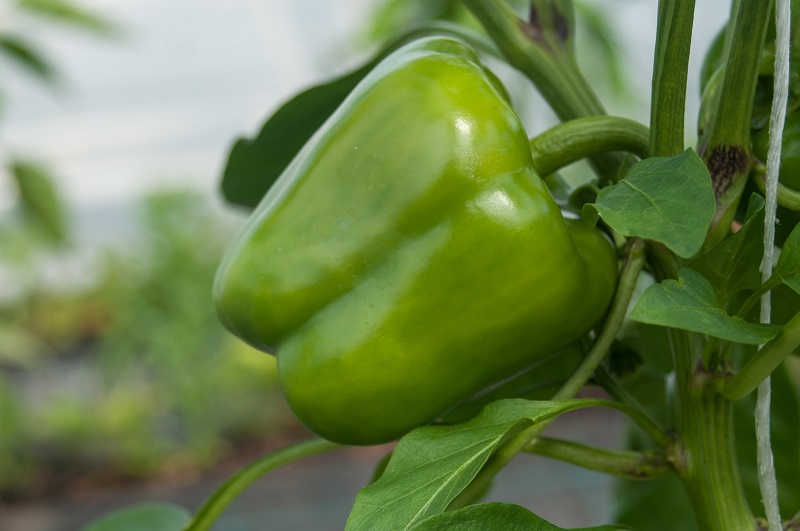
The fruit of nearly every variety of pepper starts out green or purplish-green, which eventually turns to red, orange or yellow when they are fully ripe. When they reach their final color, peppers are at their peak of flavor and nutrition. (There’s a real difference: One cup sliced green pepper = 74 milligrams of vitamin C vs. one cup sliced red pepper = 117 milligrams of vitamin C.) Patience is essential to get the most colorful, flavorful and nutritious homegrown peppers. It can take up to three weeks or even more for a full-size pepper to change from green to its final color. When you bite into them, you’ll be glad you waited.
Gardening with Scott: Your Best Tomato Harvest Ever
Read More7. Clip, don’t pull.

Ripe peppers don’t separate easily from the branches like tomatoes do. Instead of pulling them off and possibly damaging the plant, use hand pruners to clip the stems as close to the branch as possible. Snip cleanly so the plant stays healthy and continues producing new peppers.
8. Easy preservation.
Did you harvest more peppers than you can eat right away? Homegrown peppers, especially the spicy types, are easy to dry and keep for use another time. Simply spread them out on a cookie sheet and put them in your oven at the lowest temperature setting—ideally about 200 degrees F. Check them every 30 minutes or so as they dehydrate. Take them out when they are wrinkled and firm. If you like to make your own hot pepper flakes, leave them in the oven until they are crumbly. When they cool, crush them with an herb grinder and store them in an airtight jar. Now you have your own homegrown Free Food you can use to season any healthy meal.