How to Make Dried Fruit without a Dehydrator
Article posted in: Diet & Nutrition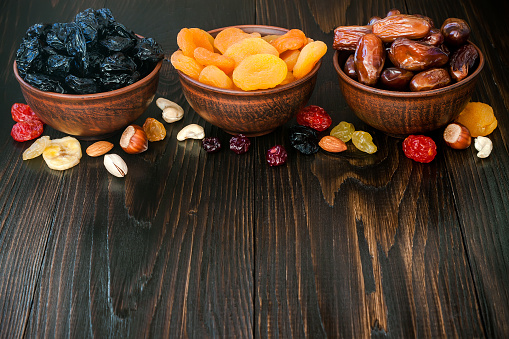
We have to admit that of all the kitchen tools out there, dehydrators just might top the list of the easiest to use. You simply chop up your fruits and veggies, toss them on trays, set the temp and timer, and wake up to several servings of delicious dried snacks.
But the good news is, even if you don’t own a dehydrator, you can still enjoy munching on homemade dried snacks. They may take a little longer to make, but if winter weather has you stuck indoors for hours at a time, you might as well give them a go. Follow these instructions for making your own favorite dried delights:
Prep Your Produce
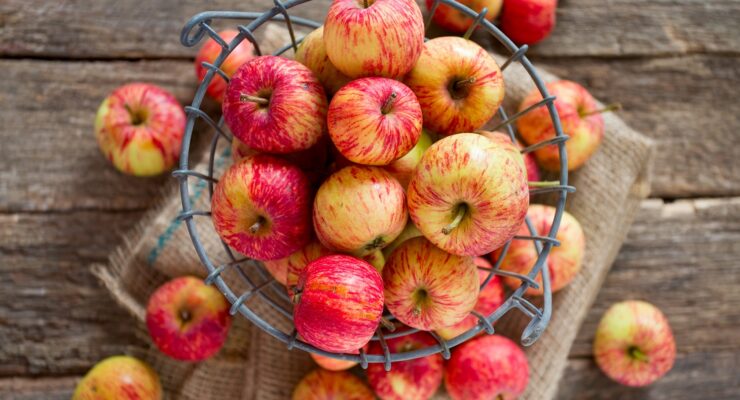
The first thing you’ll want to do is decide which fruits you want to dehydrate. Apples, peaches, plums, mango, pineapple, bananas and berries all make great options. Select fruits that are very ripe since these will taste better. Make sure to wash your fruits thoroughly and remove any brown spots, stems, pits and cores. For fruits that require slicing, be sure to slice them thin as this will enable thorough cooking, and try to keep all slices roughly the same thickness as you will want all pieces to dry within the same time-frame. Healthy hint: You don’t need to remove the skins from your fruit, but leaving them on can mean longer cook times. Once you’ve prepped your foods, spread them in a single layer across a parchment-lined baking sheet.
Dry it Out
Preheat the oven to 150 degrees Fahrenheit (temperatures will vary depending on the fruits you select and the strength of your oven). Most fruits require between six to 12 hours to dry. Plums, pears, peaches, bananas and apples are typically closer to the six hour mark, while berries and more moisture-rich fruits can take upwards of 10. The first time you dry fruits using your oven you’ll want to check on them frequently and make a note of the optimal cooking time and temperature so you’ll know for future efforts. Also be sure to rotate the pan every two hours or so to ensure that the heat of the oven is well distributed. How do you know when your fruit is ready? It should feel dry like leather, but still be flexible enough to bend. If you like your dried snacks crispy, you’ll want to leave them in the oven a tad longer.
Store it Safely
If you’re on Nutrisystem, a quarter cup of most dried fruits counts as one SmartCarb, which means you’ll probably have extras. To store your dried foods properly, you’ll want to make sure you cool them completely. According to the National Center for Home Food Preparation, warm food can cause sweating, which can give way to mold. The same source recommends packing your dried foods in clean, dry glass jars, plastic freezer containers with tight-fitting lids or in plastic freezer bags. Your fruits should be stored in quantities that can be used all at once since every time a package is re-opened, the food is exposed to air and moisture, which can have a negative impact on its quality. Store your dried foods in a cool, dry and dark area since heat and moisture can reduce the quality of the foods. The National Center for Home Food Preparation estimates that most dried fruits can be stored for one year at 60ºF or six months at 80ºF. Vegetables are good for about half that time.